Running StartOS on Mac M1/M2
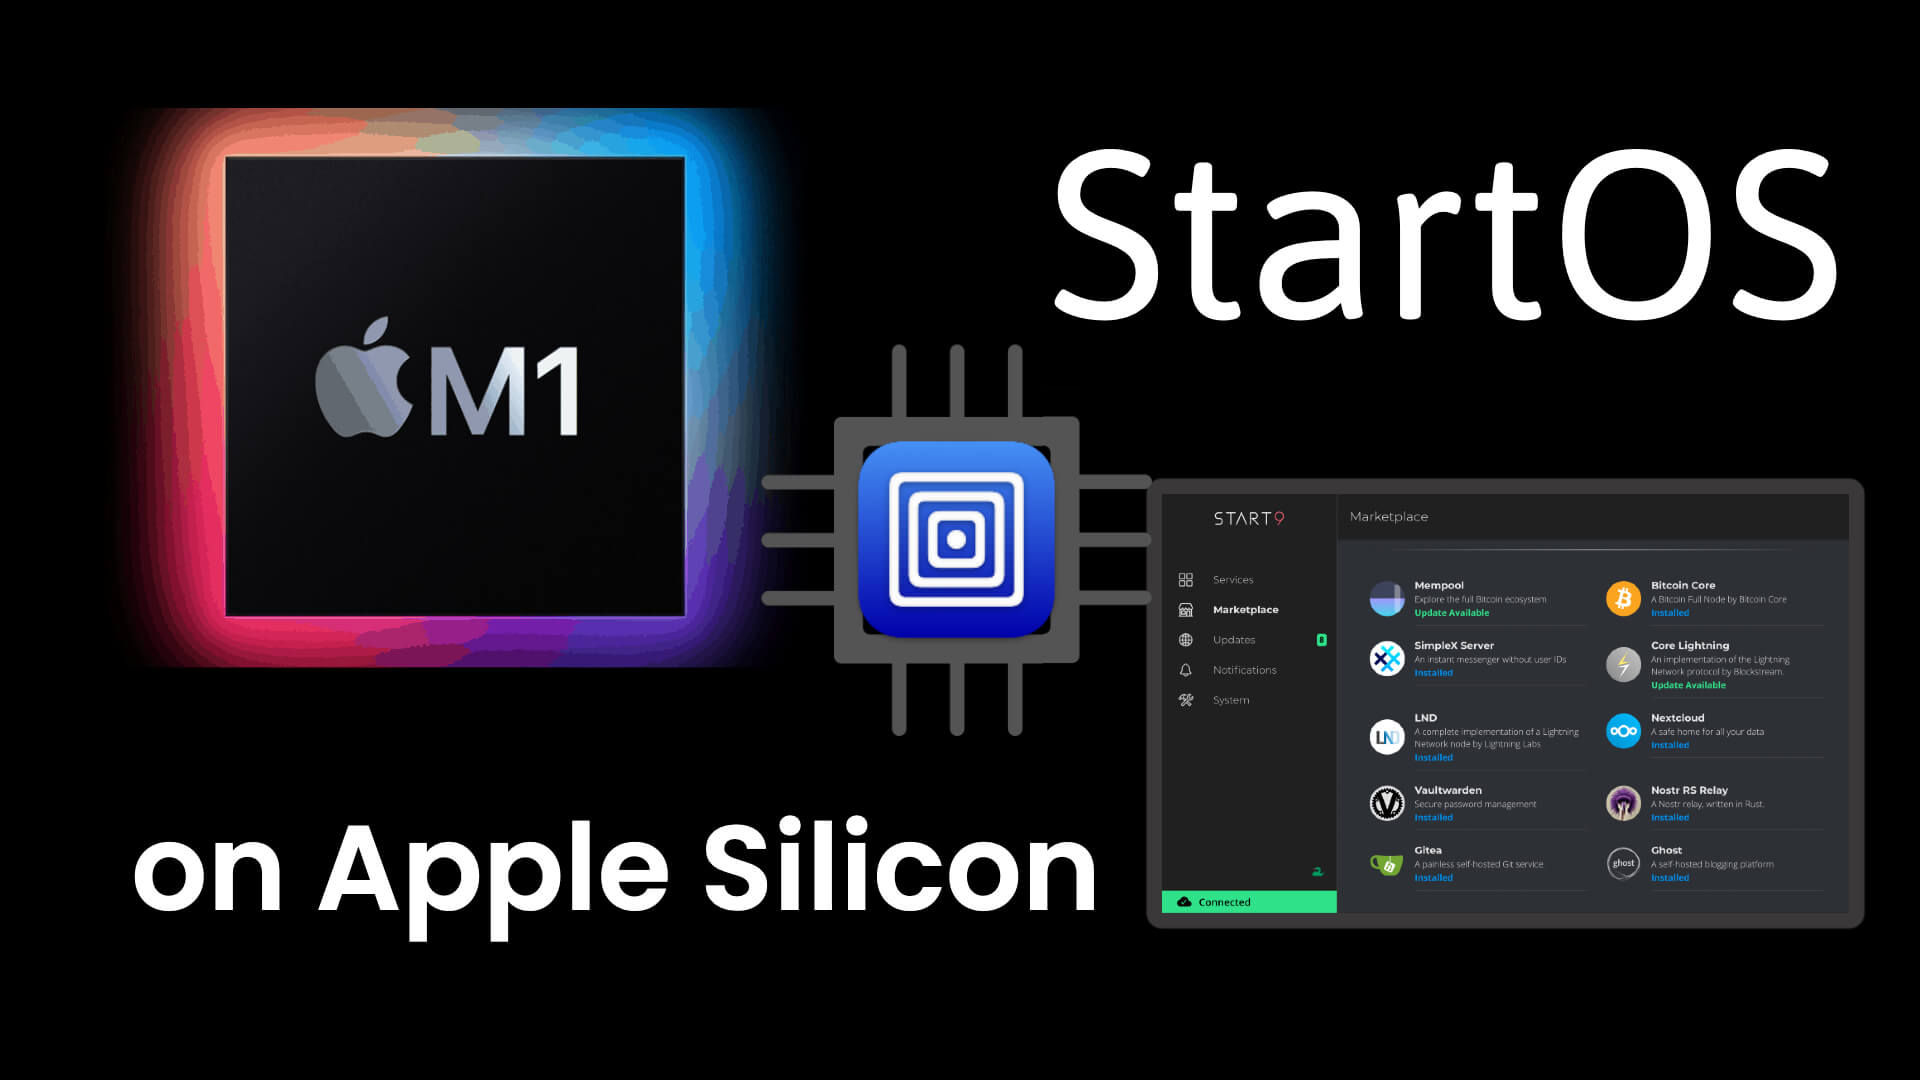
Below is a quick and easy guide for installing StartOS onto your Apple Silicon computer using UTM virtualization. UTM employs Apple's Hypervisor virtualization framework to run ARM64 operating systems on Apple Silicon at near native speeds. This is a great way to experiment with StartOS or to run a permanent server.
Estimated time to complete this guide is 5-10 minutes.
Install UTM
Download and Install UTM from the official webpage (https://mac.getutm.app) or using Homebrew with the command: brew install utm.
Download StartOS
Download the aarch64.iso image for ARM machines, found here, under the Assets section: (https://github.com/Start9Labs/start-os/releases/latest).
Create The Virtual Machine
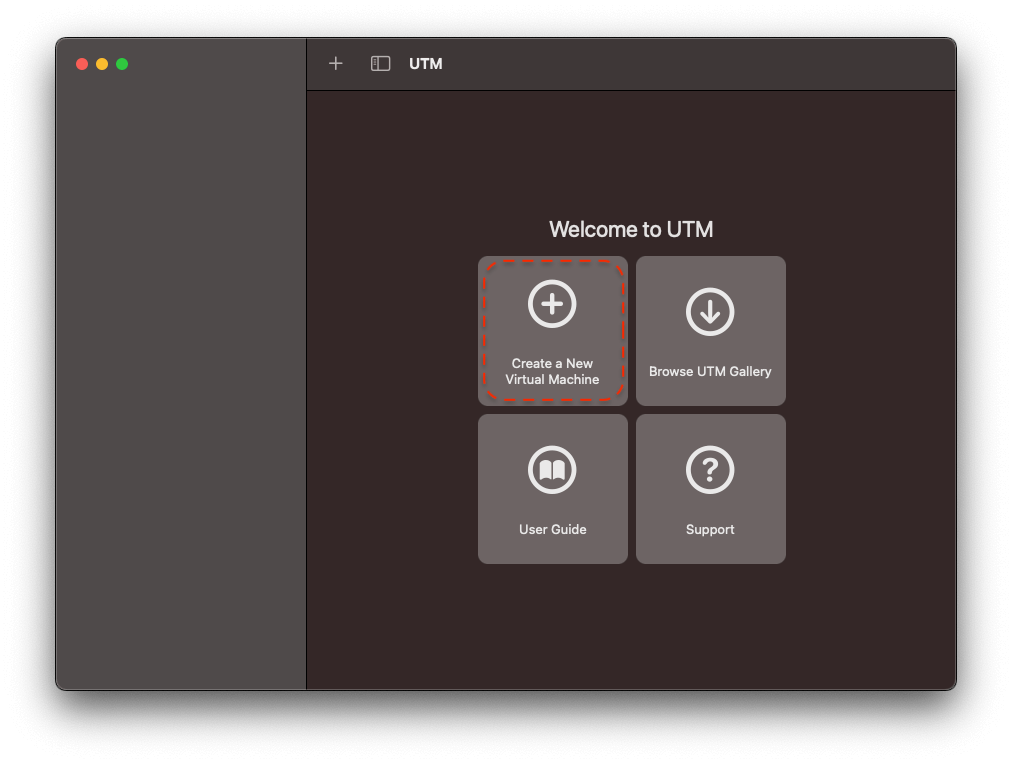
- Open UTM
- Select "Create a New Virtual Machine" --> "Virtualize" --> "Linux"

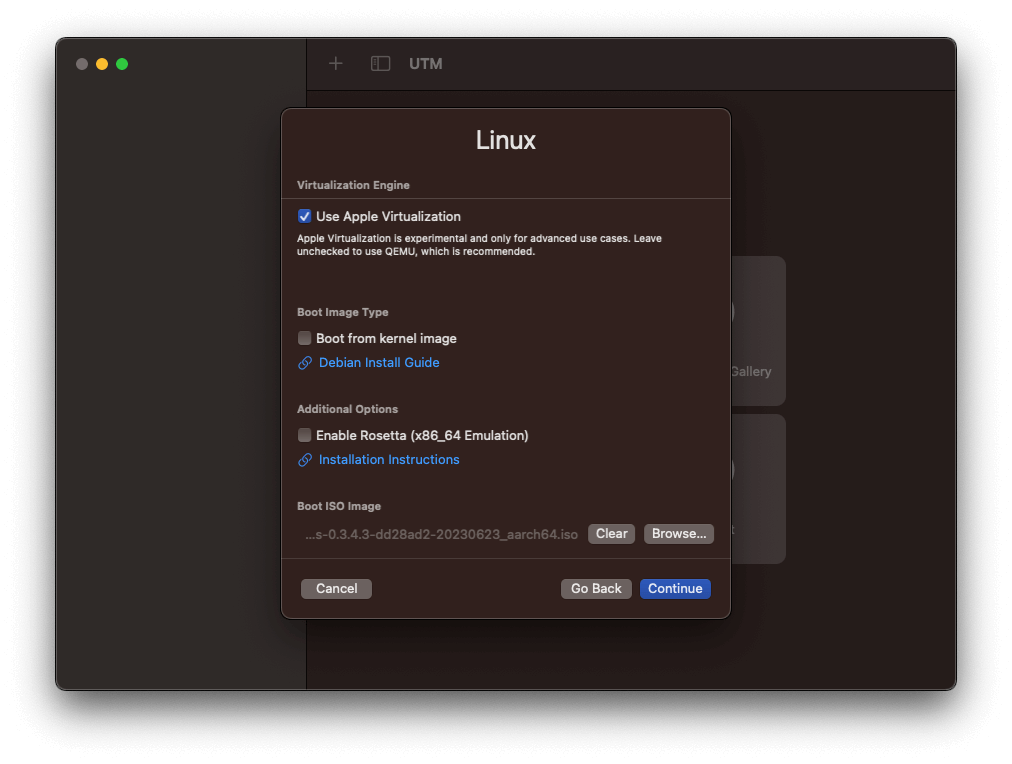
- Check the "Use Apple Virtualization" box, then click "Browse" under the "Boot ISO Image" heading. Select the StartOS aarch64.iso image you downloaded before
- Adjust the RAM and CPU allocation. Minimum requirements are 8 GB of RAM (8192 MB) and 2 cores
- Adjust the Storage allocation. Minimum requirement is 128GB. If you intend to run an archival Bitcoin node, you will need at least 1TB
- On the "Shared Directory" screen, click "Continue"
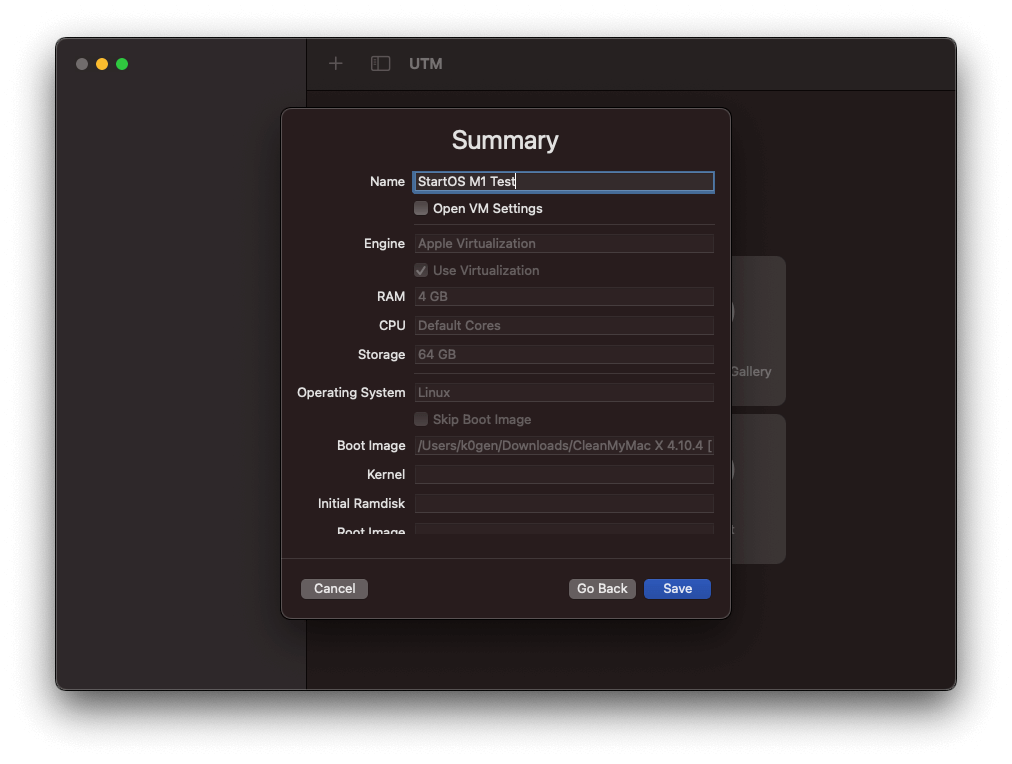
- On the "Summary" screen, give your VM a name (such as
StartOS M1 Test) and click "Save"
- Click the giant play button to start the virtual machine
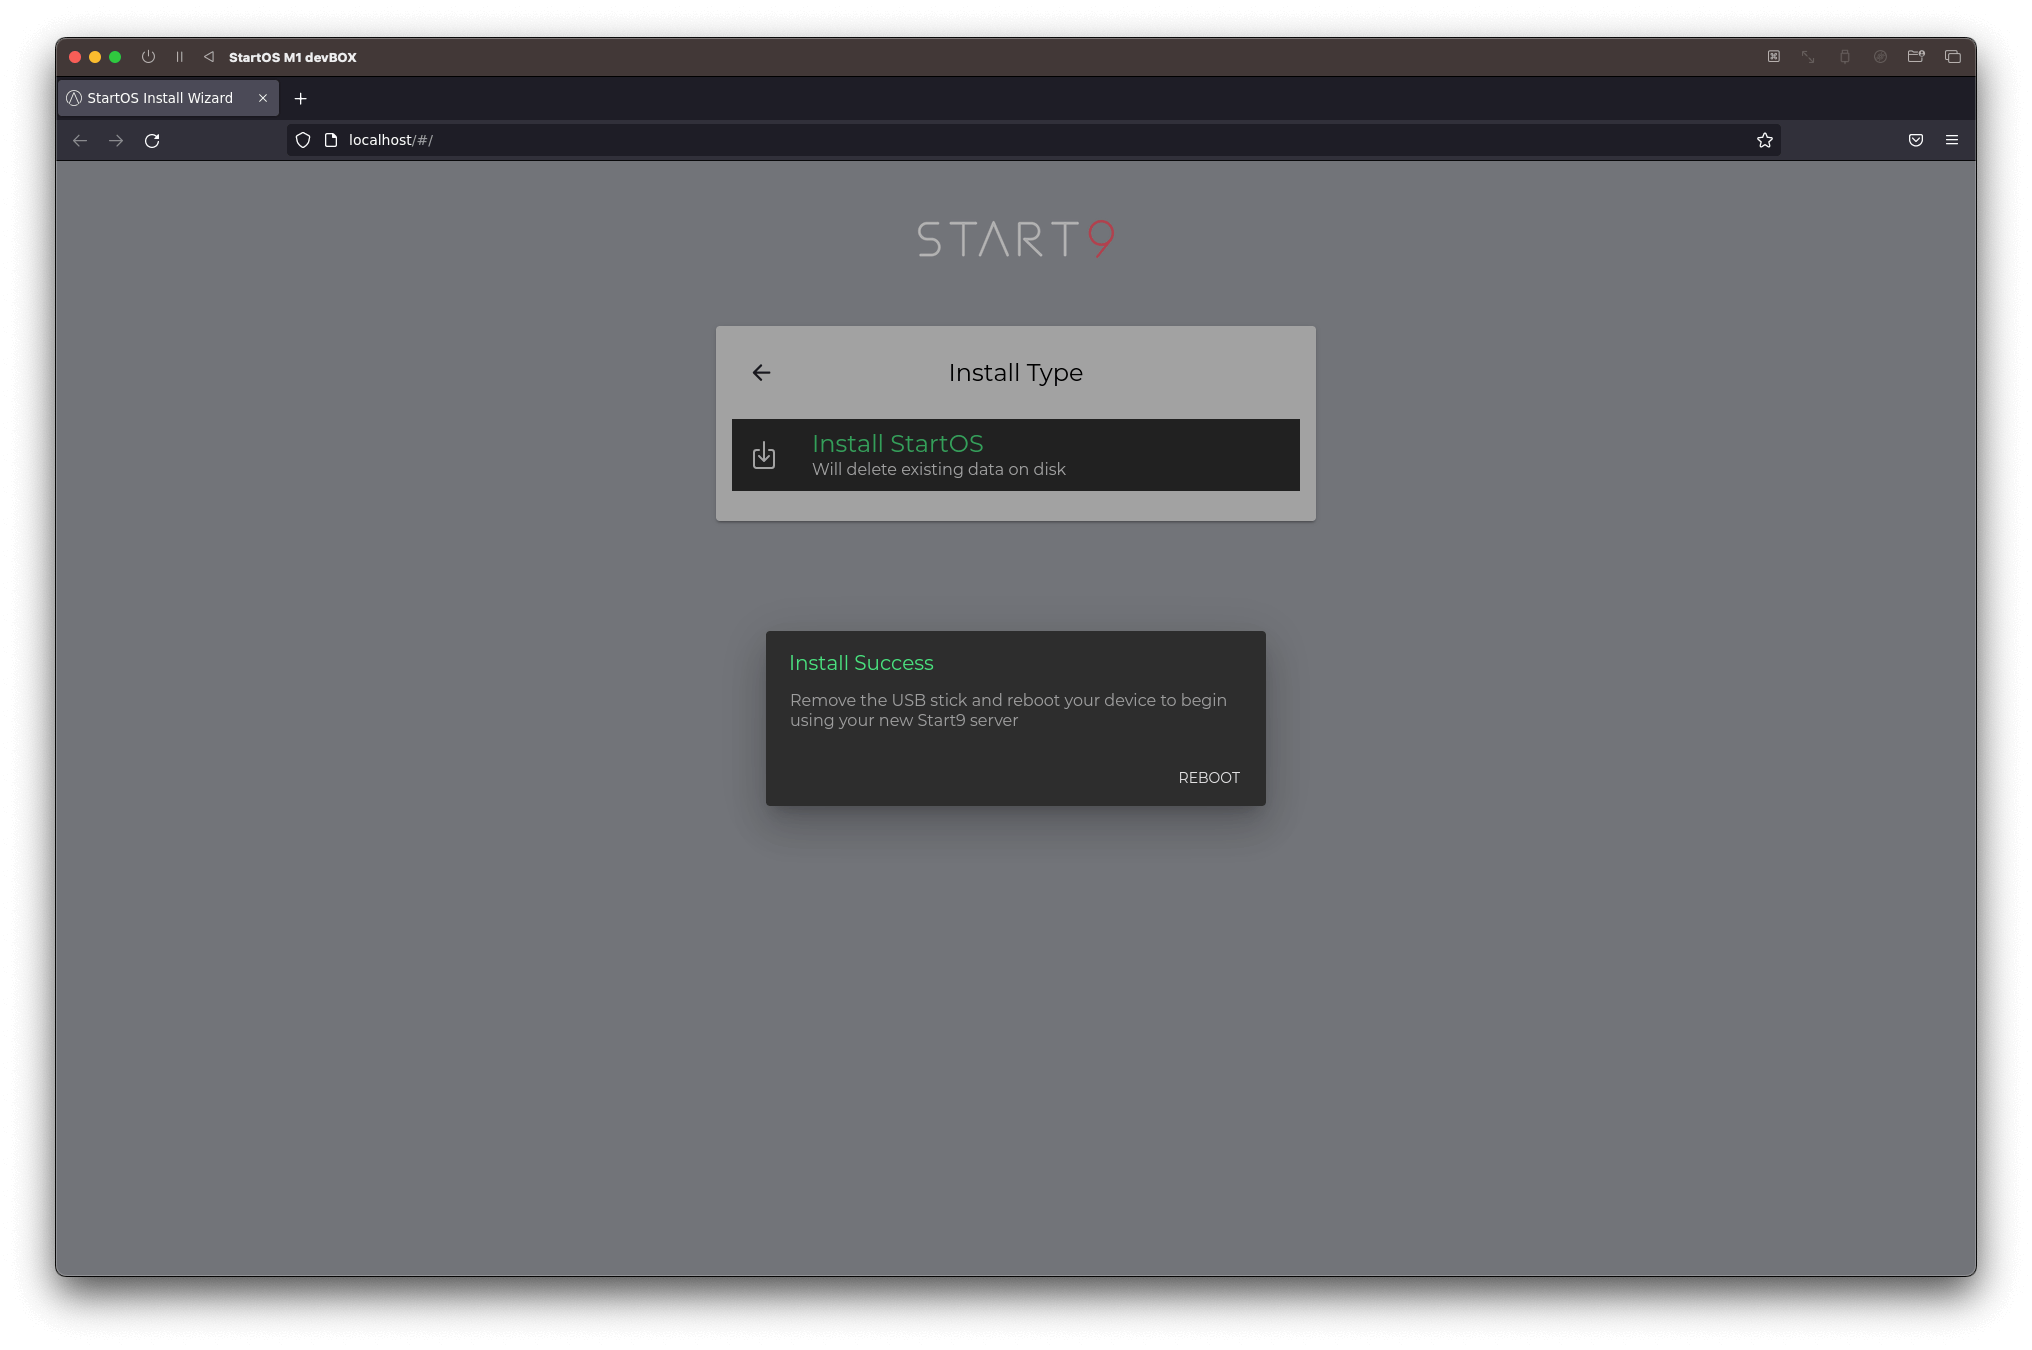
- After the virtual machine boots, follow the on-screen instructions to install StartOS.
- When installation completes, click "Reboot". You can ignore the "Remove USB stick" part of the message. UTM will handle this automatically.
Congratulations!
You have successfully configured your StartOS virtual server. Follow the setup instructions here to begin using your new M1/M2 virtual server: https://docs.start9.com/latest/user-manual/initial-setup#power-on
Post-Installation Considerations
After successfully installing StartOS, there are a few additional steps you can take:
Disable Display of StartOS VM
I enjoy running my StartOS M1 in the background, allowing it to function as another machine on my network. This setup offers the added benefit of conserving resources, particularly the GPU, within the virtual machine. As a result, it is advisable to exclude the Display from the Devices list. Here's how to do that:
- Shut down your StartOS VM
- Right-click on the VM and select "Edit"
- Remove the Display device from the list of devices
- Save the configuration and start your StartOS VM
- Access the VM through your web browser as usual
Make Your StartOS Server Available on the Local Network
By default, UTM establishes a Shared Network connection between your host machine and the VM. However, there may come a time when you desire to make your StartOS VM accessible to other machines on your local area network. Here's how:
- Shut down your StartOS VM
- Press "Edit" on StartOS VM" in UTM
- Under Devices, click on "Network" and change the Network Mode from "Shared Network" to "Bridged (Advanced)."
- Choose the network interface you want to bridge with (e.g., en1 for Wi-Fi adapter)
- Save the configuration and start your StartOS VM
- Access the VM through your web browser as usual
Thank you
Enjoy exploring the capabilities of StartOS and leveraging its potential for various sovereign tasks and projects.
Become unstoppable!